

I'm going to use Photoshop CC here. If you are not familiar with Photoshop, you can start a free trial here.
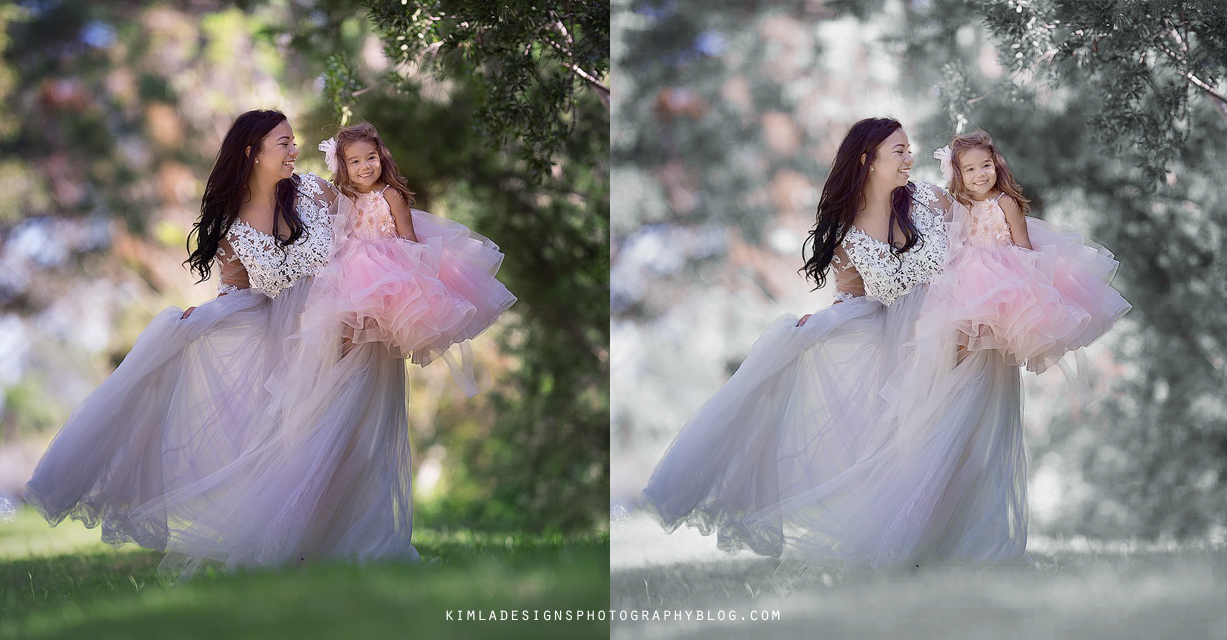
First of all, we need to change the general look of this photo to be more bright. There are propably many ways of doing this in Photoshop, but to save you time I created Oh so white Winterize PS Action and this is mine before/after pictures.

The only thing I did I masked off over the little girl face and pony with the black soft brush. This action is fully editable, you can just open the group and customize each layer. If you feel that your picture is too warm or too cold, you can simply open the Winter Haze layer and edit red or blue level. If you need more brightness check the Tonal layer and play with settings.

Just a few more examples of how this action is working.

here I used beautiful photo by Iga Logan Photography and this is how this action works on sunny Florida picture. I only corrected the greens here a little and get this wintery look in secs.
So let's learn how to add the snow.
I'm going to use Snow Photo Overlays from the White Winter Collection.
There are 30, beautiful snow overlays. These are simply drag & drop overlays, so you can apply each effect very quickly. You can check our Complete Guide to Photo Overlays here. These overlays are great, you can mix & match them to get new looks.
I like fluffy little snow, rather delicate look of it, nothing heavy and with hard edges.

and these are Iga's pictures after snowy make over.


and little something from the trip to Christmas tree farm

You can also create your own snow overlay or just add little bit more snow to ready made overlays with PS brushes included in this collection.
I love brushes and love how you can change the settings of these tools in Photoshop. With snow brushes you can simply paint your own snowy scene.
How to upload them to your PS CC ?
After downloading and unziping the folder, simply double click on Kimla Designs White Winter Snow Brushes .abr file and your brushes will be visible in Brush Panel.
Click B and you will be able to open Brush menu. You can change size of each brush and hardness.
If you Click F5 shortcut, you will be able to edit settings of each brush. You should really check this out.

Hope you will find this Tutorial useful. Pin it and share it with your friends.
If you like to check this collection, how it works with your photos, please contact me via Shop contact form.


